Showing posts with label Crochet. Show all posts

January 20, 2012

Beanie.


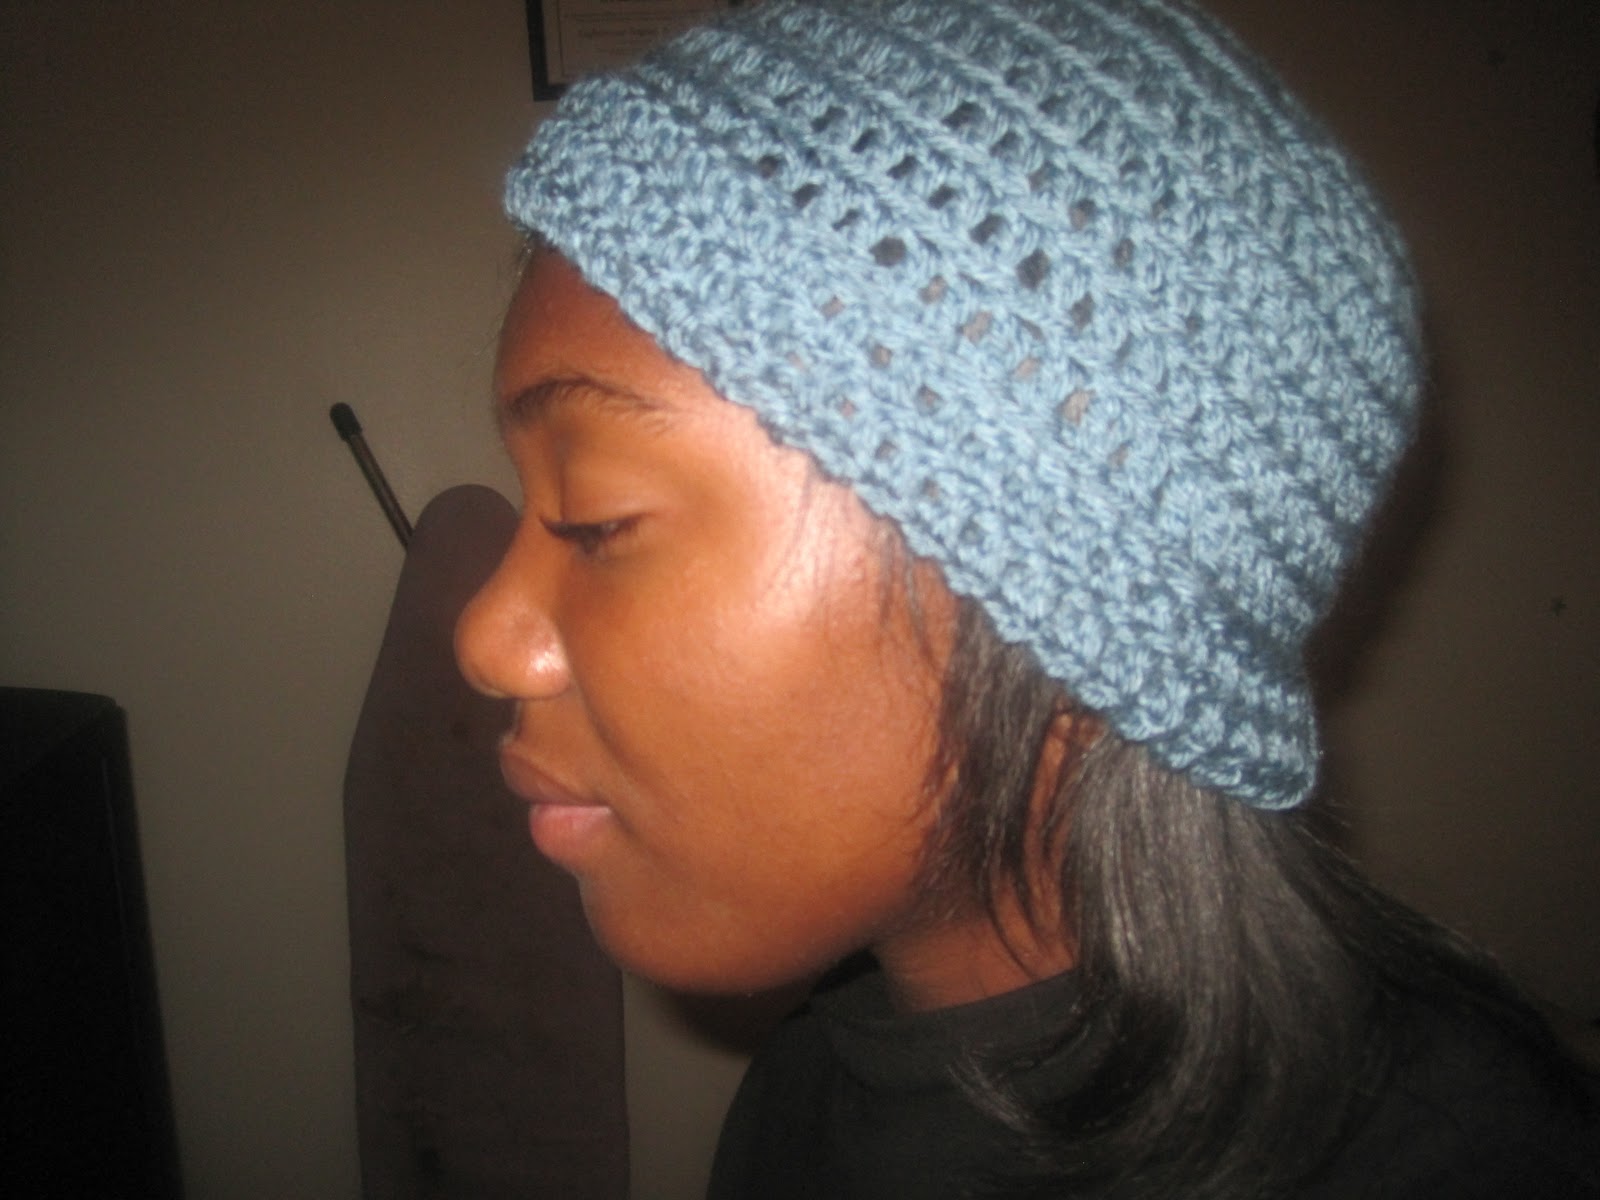
I finally designed a beanie that increased on its own. I love wearing beanies
but I like them extra long so that they can cover my ears. I like the way this beanie
turned out because I can slouch it , and I can also
roll it up and have it fit cozily on my head, as shown below.

What awesomeness!

December 9, 2011

Pure Awesomeness!

I made recently made this crochet slouchy for my friend, and I
charged her $3 for it... and guess what? She loved it!!!
I tried to take pictures of her in a rush, but she kept cracking up and wouldn't stay still cause
I was making her do all these poses that
she thought was embarrassing..this was all I got at the moment though,


Aaaah the memories after school!!! She makes me
laugh so much.. I like funny people!!!
Anyway I will also be making a hat for her little sister, Jennilie (je-ni-lee) !!


November 30, 2011

What a long week.....

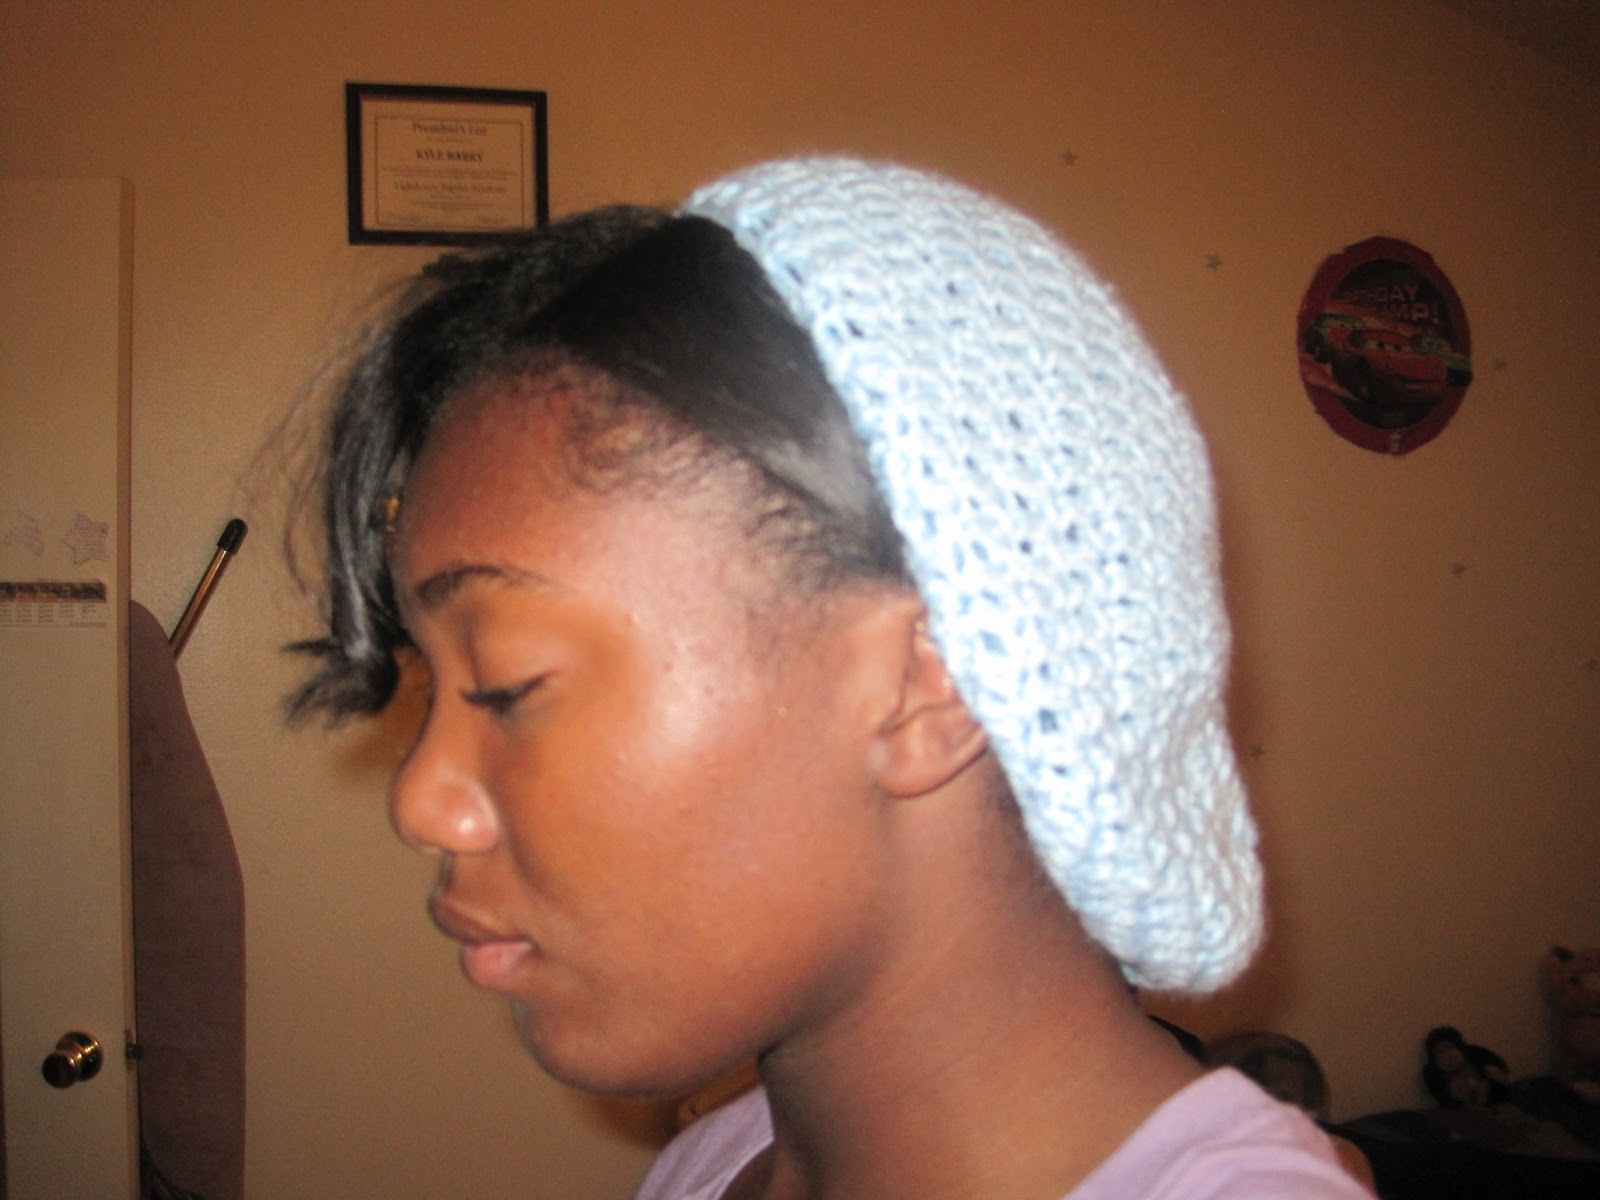
My week consisted of me finally finishing my slouchy beret, making pom-pom clips, and taking pictures of my cat !!
I like how I did it, it's actually a beanie I made extra big and decreased to my taste.
Very simple. I took some pics of me wearing it, so you can see.
I'm my own camera man!


This is the chubby side of my face...


P.S. My eyes aren't closed!! Then I decided I was gonna add a pom-pom.
A brown one!!!

Then I thought I should add another one, A RED ONE!!!!


I made this pom-pom hair clip... It's my first one!!!


I was trying to take a picture of my cat, Felix, but he can't take a picture
for nothing...He doesn't like pictures because of the flash...but even without the flash he
won't take one. This is the best picture I've gotten so far!!


Look at him!!! So calm and sleepy!! He's so stink'n cute!!


November 18, 2011

Soft Winter Slippers (or Mary Janes)


For my pattern , it really depends on what size or type of yarn your using.
Im using chunky green yarn, with a size G needle, to make it a bit more plush.
It fit my mom , which is about a size 11. (Yes i come from a big foot family..)
You might have to experiment and  see what works for your foot size...
For my foot im like a size 9-10
I dont remeber what size yarn it was but , the name of the brand was
Lionbrand. It's really good quality yarn. They sell it at Joanne's for $ 2.33, its a good size roll
for that amount of money.
Anyway
Rnd 1: Im gonna do 6 dc in a magic circle. then im gonna close up the ring.


Rnd 2: Do
2 dc in each st (12 dc). Sl st in the top of the first st and ch 2.
Rnd 3: Now we're going to do 1 dc in the first st , and do 2 dc in the next (18 dc). Sl st ,ch 2.
Rnd 4: We're  going to do 1 dc in the next 2 st, then 2 dc in the next st(24 dc). You are
 going to follow that pattern all the way around.
 This is what my slipper looked like after Rnd 4,


Now do 1 or  2 even rows( which means do 1 dc in each st around sl st, ch 2),
it depends on how long you want the
toe of your slipper to be (24 dc).( This is what my slipper looked like after the even rows.


Now pay attention , we're going to be working in rows. This is gonna
make the sole of the shoe.
Do 18 dc, ch 2 and turn. Do 8 rows of this. This is what mine looked like after row 3,


On the 9th row, you're gonna work in the first 9 dc, then dc3tog.
and work the rest of the st. Now we're gonna do another row.
For this row we're gonna work in the first 8 dc then dc3tog.
Work in the rest of the stitches.

We are going to seam up the open edge, which will make the heel of
the slipper. LISTEN UP...
You need to turn the shoe inside out! I kept forgetting to do so.


Ta- da!!  Turn right side and you should have a basic slipper.


Now pay attention to this part.. Even I kept messing up on this part!
 You may use a contrasting color if you want.
You're gonna join in the center and also do a sc in that same spot. Now you're gonna
sc along the side until you reach to the corner. When you reach to the corner you are going to sc3tog.

Then do about 3 dc, and sc3tog again at the next corner. If you don't want to add the strap
( I prefer not to...) , then continue single crocheting down the side , and sc3tog at the heel. fasten off and weave in.
If you do want to add the strap then after doing a sc3tog for the seond time,
do 3-4 sc then ch 10. join at the opposite side of the slipper. You shold be doing something like this,


Then, work in the ch ,and then continue working along the side as before..You should
be doing something like so...

Lastly , sc3tog at the heel , fasten off and weave in the tail...
and ....TA-DA!!! You're finally done with your slippers!!!


Please be knid, and dont reproduce for sale, and don't
use my pictures without permission!! Use pictures of  what YOU made to show your fans!!
Thank-you!!

October 30, 2011

Sunday Afternoons....

    I sat up in the last hours of the day crocheting stuff... these last few days have been good though , new art ideas overflowing in my brain and i can't stop it!!  For instance,  I thought i should make a flower clip and even better a triple layered flower!!! Uh-huh... I am awesome and i came up with my own pattern(which is rare mind you...)!!!
                                              
                                                             Heres the end product:


    You can make one to .... my pattern is on the tutorials page, once i get that running!! My tutorials also have pictures to guide you.... i use abbreviations ....if you cant read those heres the list that i use:
                   
                                    crochet abbreviations:
                            dc= double crochet
                            sc= single crochet
                            tc= triple crochet
                            sl st= slip stitch
                            ch= chain
                            st= stitch
                            Rnd=round


please comment and if you have any tips, tricks or ideas or recipes you want to share let me know!!